

Digital Factory
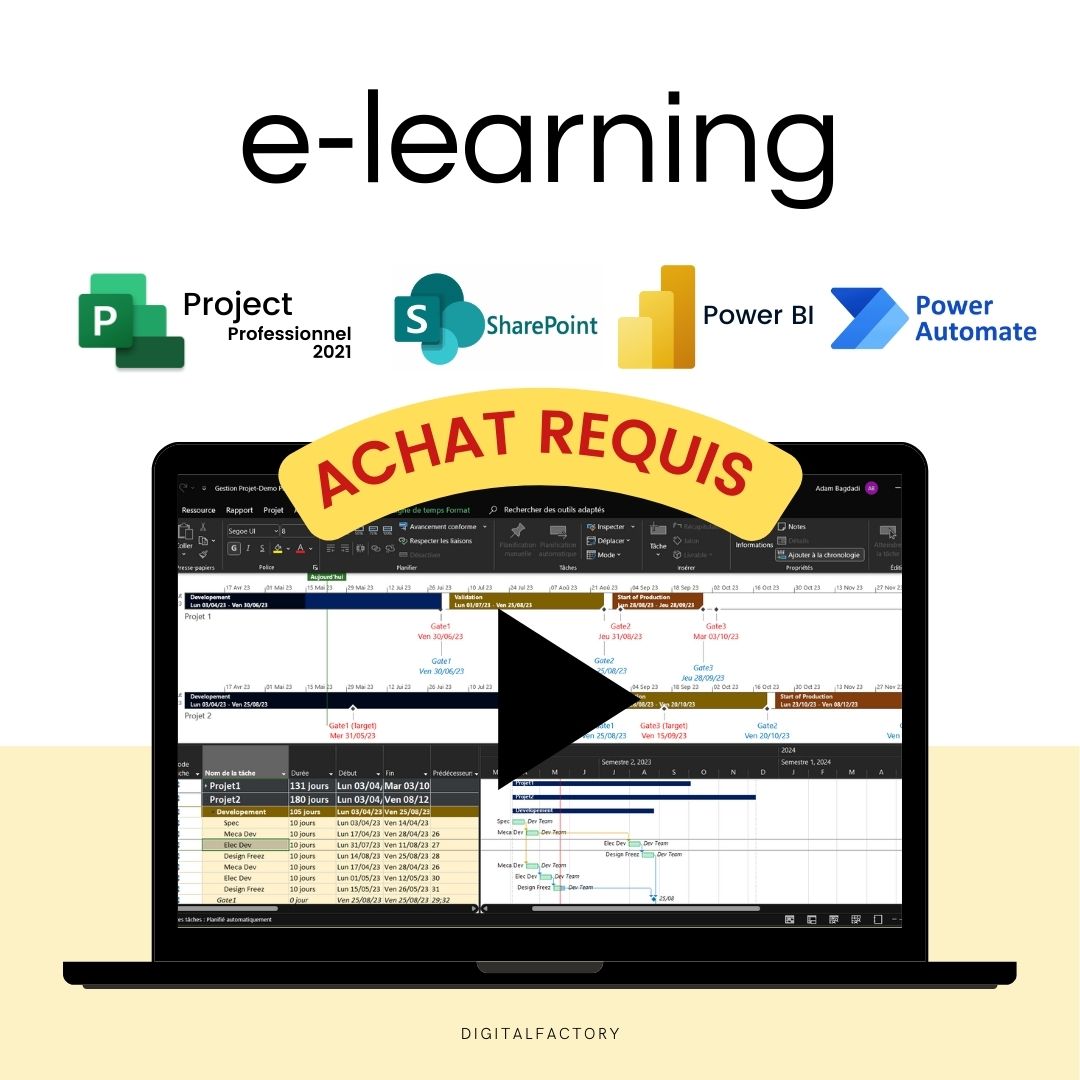
T10/ MS Project - Tutorial: Printing the project
Couldn't load pickup availability
Paid Tutorial: An access link will be sent to you after purchase.
In this MS Project tutorial, you will learn how to print your project with advanced configuration, scaling and display options.
Start by going to the File menu and selecting Print. You can choose from several options in the settings like printing the entire project, specific dates, or specific pages. If you want to print specific jobs, you need to use filters to display those jobs in your project. In our case, we will choose to print the entire project.
To configure the layout, head to Page Setup . In the menu that opens, go to Pages , then to Scaling . Select Fit 100% to display the normal page size. If you want to print the entire project on one page, check Fit and choose 1 page . You can preview the rendering by clicking OK .
Return to Layout . Here you can configure the header, footer and caption by choosing which objects to display. You can quickly access them via the icons in the general menu or in the project fields. For example, you can choose to display the author at the footer.
If you want to show all columns, go to View check Show all columns and click OK . You will then see all the columns displayed. To return to a more limited view, go back to Layout and Display , uncheck Show all columns and check Show first columns by setting the number to 4 columns.
Finally, you can now print your project . Once you click Print , your document will be converted to PDF format and ready to print.
And there you have it, you have successfully printed your project with Microsoft Project. Thank you for following us and see you soon for a new tutorial.

blog posts
View all-

The integration of AI in industrial logistics
Contents Introduction The impact of AI on the supply chain Challenges and solutions in AI integration Case studies and notable successes Future of AI in industrial logistics How Businesses Can...
The integration of AI in industrial logistics
Contents Introduction The impact of AI on the supply chain Challenges and solutions in AI integration Case studies and notable successes Future of AI in industrial logistics How Businesses Can...
-
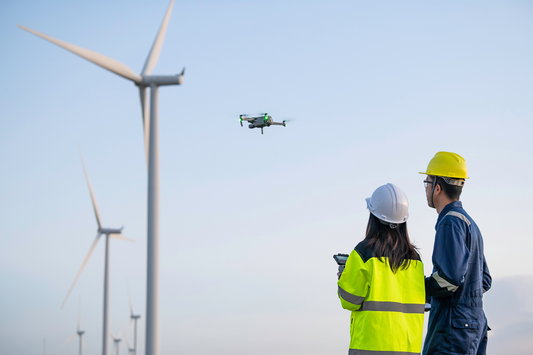
Drones in industry: Applications and benefits
In the modern era of industry, drones are not just surveillance tools; they have become essential for predictive maintenance. Equipped with advanced sensors, these flying devices capture critical data on...
Drones in industry: Applications and benefits
In the modern era of industry, drones are not just surveillance tools; they have become essential for predictive maintenance. Equipped with advanced sensors, these flying devices capture critical data on...
-
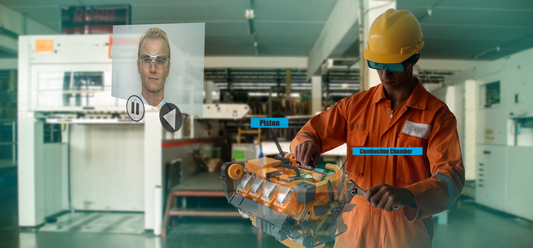
Digital twins in industry 4.0
Digital twins represent a major innovation in the Industry 4.0 landscape, offering new ways to optimize industrial processes and boost operational efficiency. These virtual models, which are digital replicas of...
Digital twins in industry 4.0
Digital twins represent a major innovation in the Industry 4.0 landscape, offering new ways to optimize industrial processes and boost operational efficiency. These virtual models, which are digital replicas of...


