

Digital Factory
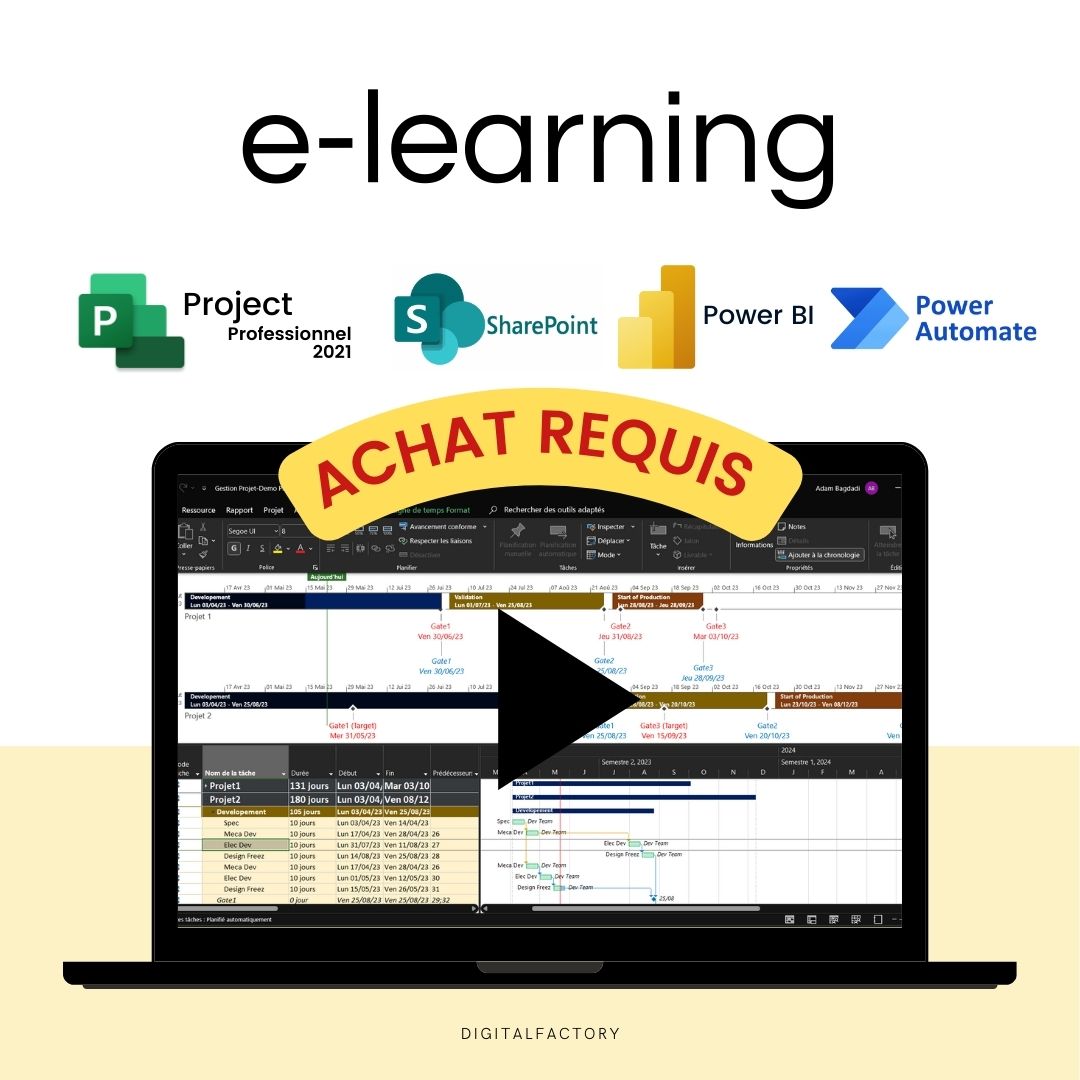
T8/ MS Project - Tutorial: Creating a baseline
Couldn't load pickup availability
Paid Tutorial: An access link will be sent to you after purchase.
In this MS Project tutorial, you will learn how to easily create and display a baseline schedule.
To get started, go to the project ribbon and click “Set Baseline”. Select the baseline schedule you want to create. For our example, we will select reference schedule 2 . Click "OK" . The “Start” and “End” reference schedules are then created by making a copy of the start and end of the current schedule.
Now add the “Start of Reference 2” and “End of Reference 2” columns . To display the baseline schedule on the Gantt chart, go to the "Format" ribbon, click on "Bars" and "Styles" . At this level, you will add a new line at the end.
In our example, we will only display the reference end date. Add a new line named “Reference 2 End Date” . In the "Represents tasks" section, add "Normal" . Remove the middle bar .
Then add the target format at the end and choose the color red . For "Start", put "Start of Reference 2" and for "End", put "End of Reference 2" . Click "OK" .
You can now see the end of reference display on all tasks. If you want to display the reference end only for certain tasks, go to "Format", "Bars" and "Styles" .
In the "End of Reference 2" line that we added, insert in "Represents the tasks" a semicolon and "Indicator2" . Click "OK" . Add the “Indicator 2” column .
Choosing "Yes" in this column will display the baseline finish date on the Gantt chart for the specific tasks.
And there you have it, in a few simple steps, you have created and displayed a baseline schedule in Microsoft Project. Thank you for following us and see you soon for a new tutorial.

blog posts
View all-

Industrial Cybersecurity: Challenges and Solutions
Contents Introduction Background and importance of industrial cybersecurity Top Cybersecurity Challenges in Industry Solutions and best practices to improve industrial cybersecurity Future Perspectives and Innovation in Industrial Cybersecurity Conclusion Introduction...
-

The integration of AI in industrial logistics
Contents Introduction The impact of AI on the supply chain Challenges and solutions in AI integration Case studies and notable successes Future of AI in industrial logistics How Businesses Can...
The integration of AI in industrial logistics
Contents Introduction The impact of AI on the supply chain Challenges and solutions in AI integration Case studies and notable successes Future of AI in industrial logistics How Businesses Can...
-
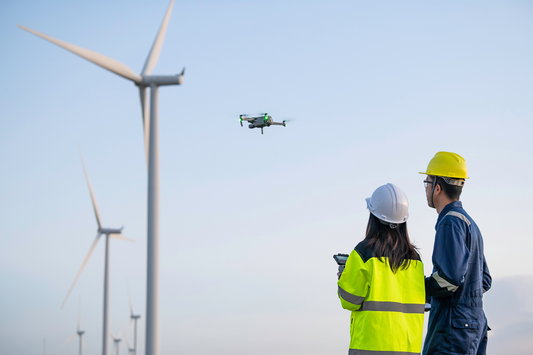
Drones in industry: Applications and benefits
In the modern era of industry, drones are not just surveillance tools; they have become essential for predictive maintenance. Equipped with advanced sensors, these flying devices capture critical data on...
Drones in industry: Applications and benefits
In the modern era of industry, drones are not just surveillance tools; they have become essential for predictive maintenance. Equipped with advanced sensors, these flying devices capture critical data on...


